
How to Set the Perfect Chandelier Height for Your Dining Table
September 17, 2025
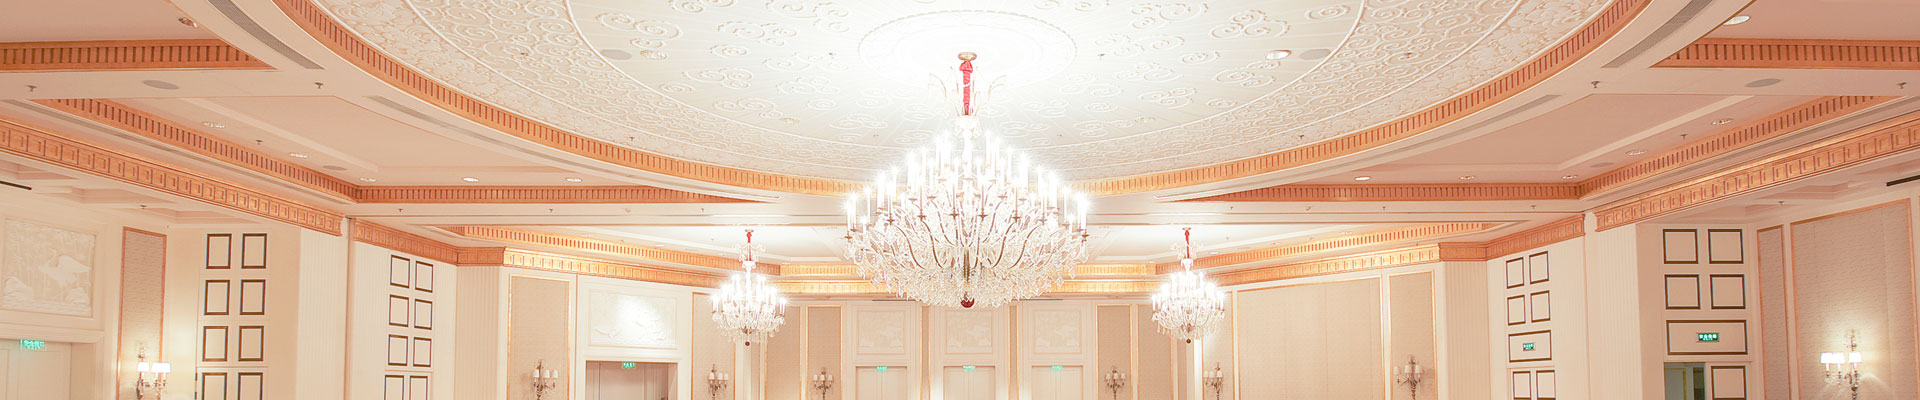
The Optimal Chandelier Height for the Dining Table
In the dining room, a chandelier serves not merely as a lighting fixture, but as a visual focal point. It plays a pivotal role in creating the atmosphere for dining and social gatherings. Consequently, it is essential to install it at the appropriate height.
When positioned correctly, a chandelier can significantly enhance the ambiance while simultaneously providing optimal illumination.

Why Chandelier Height Matters in the Dining Room
Appropriate Fixture Diameter for Rooms with 8-Foot Ceilings
The height at which a chandelier is hung is a critical factor in determining both its functionality and its aesthetic appeal. If hung too high, the fixture may appear out of place within the room; furthermore, it may fail to cast sufficient direct light onto the dining table, leaving the dining area feeling cold and impersonal.
Effective interior lighting design can fundamentally transform the way people experience a space—ranging from the layering of light to the optimization of brightness and contrast.
Conversely, if the fixture is hung too low, it can obstruct lines of sight across the dining table, creating a sense of visual clutter and discomfort.
The ultimate goal is to achieve a harmonious balance. The dining table and the chandelier should complement one another; the fixture should provide ample illumination without impeding visibility.

Standard Rules for Chandelier Height
The Golden Rule for Dining Room Chandelier Placement: For rooms with 8-foot ceilings, the bottom of the chandelier should be positioned 30 to 36 inches above the surface of the dining table.
There is a widely accepted standard for installing dining room chandeliers: the lowest point of the fixture must be suspended 30 to 36 inches above the tabletop.
According to the *Journal of Environmental Psychology*, the placement of a chandelier within a space can influence interpersonal dynamics—whether in the context of social gatherings or intimate family interactions.
This rule applies specifically to rooms with a ceiling height of 8 feet (approximately 2.4 meters). This specific height ensures both clear lines of sight and adequate illumination of the dining table.
While this rule serves as an excellent starting point, it must be adjusted to accommodate varying ceiling heights. When calculating the appropriate hanging height for ceilings exceeding 8 feet, you should add an additional 3 inches to the standard measurement for every foot of extra ceiling height. Here is a simple formula:
Base Height (30–36 inches) + [(Ceiling Height in feet – 8) × 3 inches]
Let's look at a quick-reference lookup table:
Ceiling Height | Bottom of Chandelier Above Table
8 feet | 30–36 inches
9 feet | 33–39 inches
10 feet | 36–42 inches
12 feet | 42–48 inches
Step-by-Step Guide: How to Install a Dining Room Chandelier
Installing a chandelier can be a DIY project, but it requires caution to ensure safety. If you are unsure of your abilities, it is best to hire a professional electrician.
Safety Steps for Chandelier Installation: Use a voltage tester to confirm the power is off, and check the load-bearing capacity of the electrical junction box.

1. Turn Off the Power
Locate the circuit breaker that controls the dining room lighting and switch it off. To ensure the light is de-energized, use a voltage tester to verify. This is a critical step. Never work on live wires. When installing electrical fixtures, always adhere to electrical safety codes and standards.
2. Remove the Old Fixture
Carefully unscrew the old enclosed light fixture or chandelier. Remove or loosen all screws or nuts securing it to the ceiling junction box. Gently lower the fixture.
Disconnect the wires (typically black, white, and a bare copper ground wire). Observe how they are connected; this will assist you when installing the new fixture.
3. Check the Ceiling Junction Box Capacity
The weight of the new chandelier must be supported by the junction box in the ceiling. Standard junction boxes are typically rated to support fixtures weighing no more than 50 pounds.
If your new chandelier weighs more than this, you must replace the standard junction box. Install a heavy-duty junction box designed for ceiling fans.
Properly measuring room dimensions can enhance the visual sense of space.
4. Measure the Length of the Chain or Rod
This is where your height measurements come into play. Most chandeliers come with either a chain or a rod.
Measure the distance from the bottom of the chandelier to the floor. Identify your calculated hanging height (for example, 30–36 inches above the tabletop).
Measure the height of the chandelier itself, then subtract that figure from your ideal hanging height. This calculation determines the required length of the chain or downrod. Don't forget to account for the hanging loop and the canopy.
5. Assemble the Fixture
Your new chandelier will come with assembly instructions. This typically involves attaching the light arms, decorative accents, or beads. Perform the assembly on a flat, clean surface to prevent scratches or damage. Ensure you have all the necessary tools on hand.
A round dining table, with a distinctive chandelier suspended directly overhead.
6. Connect the Wiring
Ensure that the chandelier's wires are properly connected to the corresponding wires inside the ceiling junction box.
Connect the black wire (hot) leading from the chandelier to the black wire (hot) in the ceiling.
Connect the white wire (neutral) from the chandelier to the white wire (neutral) in the ceiling.
Connect the bare copper or green wire (ground) from the chandelier to the bare copper or green wire (ground) in the ceiling.
Use wire nuts to secure each connection, ensuring they are tight and secure. Then, carefully tuck the excess wiring back into the ceiling junction box.
7. Mount the Fixture and Canopy
Hold the chandelier in place and suspend it from the ceiling junction box using the mounting hardware (typically a threaded pipe or nipple passed through the mounting strap). Then, secure it with a decorative nut or cap. Alternatively, the fixture may screw directly onto the junction box.
Ensure the fixture is firmly secured and does not wobble. Slide the canopy upward to conceal the wiring and the ceiling junction box, then fasten it securely in place.
A rectangular dining table, paired with a light fixture that perfectly complements the focal point of the room.
8. Install Bulbs and Test
Screw in the appropriate light bulbs. Restore power at the circuit breaker or wall switch. Test your new chandelier to check its illumination. Make any final adjustments to the chandelier's height as needed. Factors to Consider When Choosing Table Size and Shape
A diagram illustrating the ratio of pendant light diameter to dining table width, highlighting the optimal size ratio of 1/2 to 2/3.
The selection and placement of a dining room pendant light depend largely on the size and shape of the dining table. Typically, the diameter of the pendant light should be between one-half and two-thirds of the table's width. This ratio ensures the fixture stands out effectively—appearing neither too small to be insignificant, nor so large that it overpowers the table.
A long dining table paired with multiple light fixtures of roughly equal diameter.
For a round dining table, the pendant light must be mounted directly above the center of the table. A round or spherical pendant is an excellent choice, as its shape harmonizes beautifully with the table's form.
A rectangular dining table often pairs well with a linear pendant light. This type of fixture distributes light evenly across the entire length of the table. If opting for a single pendant over a rectangular table, it should be positioned directly in the center; pay close attention to the fixture's length, ensuring it remains proportional to the length of the table.
For long tables or extendable dining tables, using multiple smaller pendants or drop lights is a practical solution. These fixtures can be hung in a row, allowing for adjustable lighting in the dining area. Moreover, this arrangement maintains a cohesive aesthetic regardless of whether the table is extended or kept at its standard length.
Ensure that the spacing between these fixtures is equal. Each fixture should be centered over its corresponding section of the table.
How Pendant Style Influences Hanging Height
The Impact of Pendant Style on Height: Heavier pendants can be hung at a greater height, while minimalist, transparent pendants can be positioned slightly lower.
Even subtle details—such as the specific style of a pendant light—can influence its optimal hanging height. This involves striking a balance between the distribution of light and the fixture's visual weight.
According to lighting trend guidelines provided by *Architectural Digest*, minimalist pendants are becoming increasingly common as a modern design element and can often be hung at a lower height; conversely, ornate or elaborate pendants typically require more vertical clearance to avoid visually overwhelming the room.
Heavier or darker pendants—such as those featuring large or substantial shades—often require additional hanging height to support their visual weight. However, this does not imply that they are inherently too bulky or visually intrusive.
Furthermore, positioning them at an appropriate height ensures more efficient light distribution while minimizing any obstruction of the line of sight. Minimalist or transparent interior light fixtures—such as crystal chandeliers or sleek spherical pendants—are typically positioned slightly lower. Thanks to their open designs, they are less likely to obstruct sightlines. Even when hung an inch lower than usual, they retain their elegance and chic appeal.
Common Mistakes to Avoid When Installing Dining Room Pendants
Steering clear of common pitfalls ensures a successful pendant light installation.
Mistakes to Avoid When Hanging a Pendant Over a Dining Table
Hanging it too low or too high: This is the most common issue. If hung too high, the fixture loses its visual impact; if hung too low, it obstructs the view. Always double-check your measurements.
Ignoring the table shape or ceiling slope: Hanging a round pendant over a rectangular dining layout can look jarring. Another classic example is installing a linear fixture in a square room, which may appear disproportionate. Failing to account for a sloped ceiling can result in the fixture hanging askew.
Choosing a pendant that is too small or too large: A pendant that is too small will look out of place, while one that is too large will overpower the space. Be sure to follow the "diameter rule."
Overlooking weight limits or dimmer compatibility: Installing a heavy pendant on a standard junction box poses a safety risk. Using non-dimmable bulbs with a dimmer switch will either cause flickering or damage the bulbs. Always review the product specifications carefully.
